
Starting in January I will be doing a Sampler Class To Go each month. This month's class uses the Sweet Talk Suite of products from the upcoming January to June Mini Catalog that goes live on January 4th.

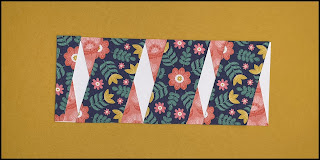
You will use the adorable Sweet Conversation Bundle as well as the Sweet Talk Designer Series Paper to complete this fun sampler. You have a choice of either a 12" x 12" or 8" x 8" sampler size.
Option 1: 12” x 12” Sampler $30.00 plus $8 for shipping
Includes:
- - 1/2 pack of the Sweet Talk Designer Series Paper, some will be used for the project but you will have plenty left over
- - a pack of Iridescent Rhinestone Basic Jewels
- - "Sampler Kit" which includes all the consumable supplies to complete the project. All cardstock will be cut and prepped and die cuts and ribbon included for each block.
- - A step by step PDF tutorial will be emailed to you when your items ship.
*You will need to purchase your own 12" x 12" shadowbox frame.
Option 2: 8” x 8” Sampler $25.00 plus $8 for shipping
Includes:
- - 1/2 pack of the Sweet Talk Designer Series Paper, some will be used for the project but you will have plenty left over
- - a pack of Iridescent Rhinestone Basic Jewels
- - "Sampler Kit" which includes all the consumable supplies to complete the project. All cardstock will be cut and prepped and die cuts and ribbon included for each block.
- - A step by step PDF tutorial will be emailed to you when your items ship.
*You will need to purchase your own 8" x 8" shadowbox frame.
Add-ons:
- Sweet Conversation Stamp Set ($18.00)
- Sweet Conversation Bundle ($42.25)
*** I will pay the additional tax and shipping on these items. You will just pay the catalog price listed above.
If you would like to purchase just the Sampler Tutorial it is $10.00 and is available in my PDF Store online https://little-blue-house-paper-craft-designs.dpdcart.com or click on the page in the toolbar above.
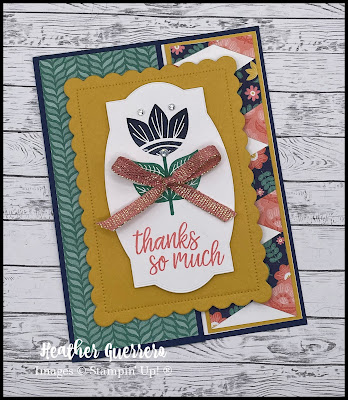
***To complete the project as shown above you will need to provide your favorite adhesive, Stampin' Dimensionals, Mini Glue Dots, Real Red, Highland Heather, So Saffron, Blushing Bride and Pool Party ink pads and you will need the Sweet Conversation Bundle or a substitution of your choice. You will need to provide your own 12" x 12" or 8" x 8" shadow box frame. *** I purchase my frames at Michaels.
***Deadline to register is December 30th, 2021. Supply order will be placed on January 4th at the start of the new January - June Mini Catalog and Sale-A-Bration Brochure. Kits will ship on or before January 14th, 2022. I will send you a PayPal invoice for payment or if you prefer I can also take Venmo.
You can check out the registration page HERE!
I'm excited to start this series of classes. If you have any questions please let me know! You can email me here.


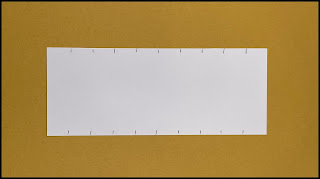
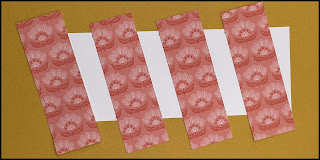
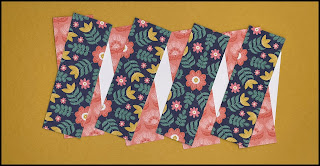


 Designer Series Paper")


 Metallic Ribbon")


